Warframe Star Chart
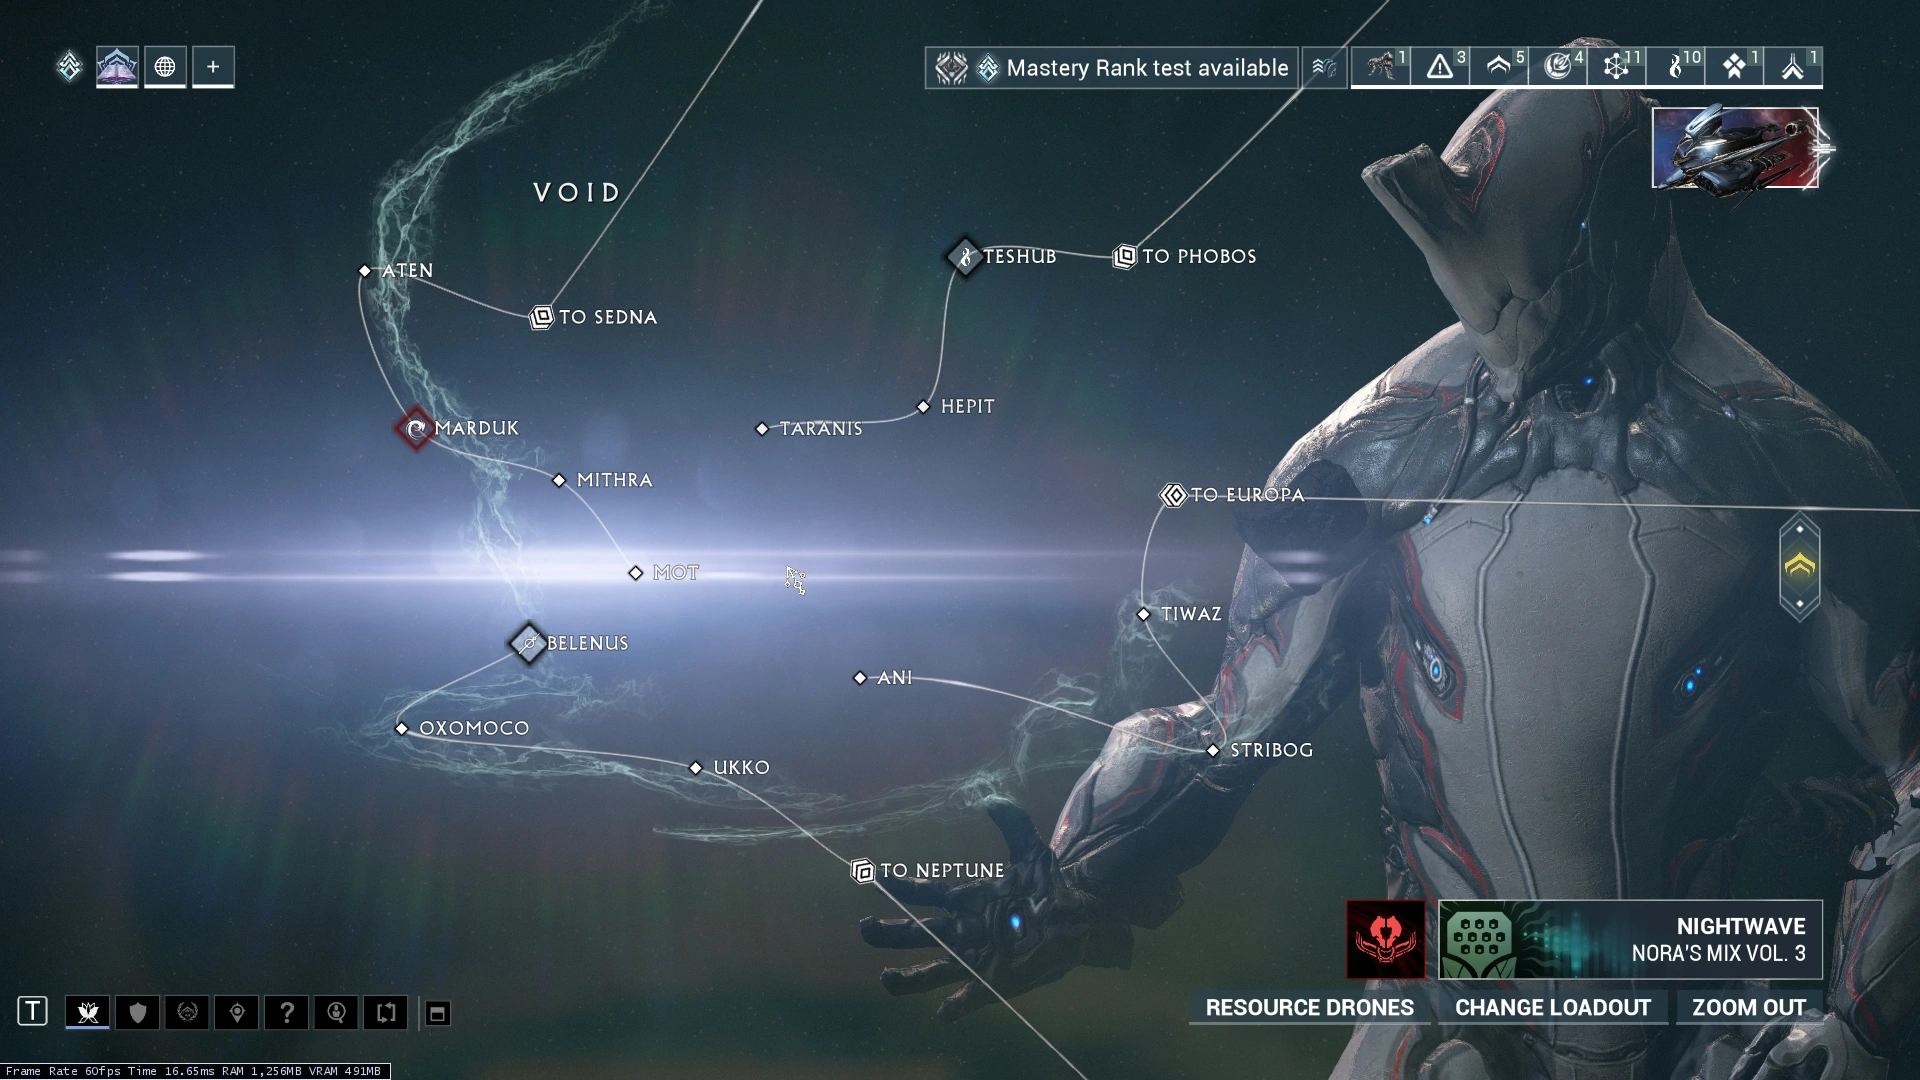
Choose the planet and mission node listed in the guide. Mission interiors use generated tiles; the navigation map locates the mission.
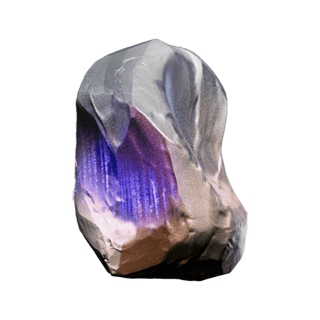
A Void based radioactive resource that decays every day it is out of the Void. Location: Missions in the Void
Hepit, Void — Capture; Ukko, Void is another option later in progression.
Hepit is a compact Capture route for searching Void rooms and breaking Argon Pegmatites on the way out. Because Argon Crystals decay after leaving the Void, collect them for a craft you are ready to start instead of building a large reserve.
Drag to pan. Zoom in to read labels and markers. Numbers on the map match the legend below.
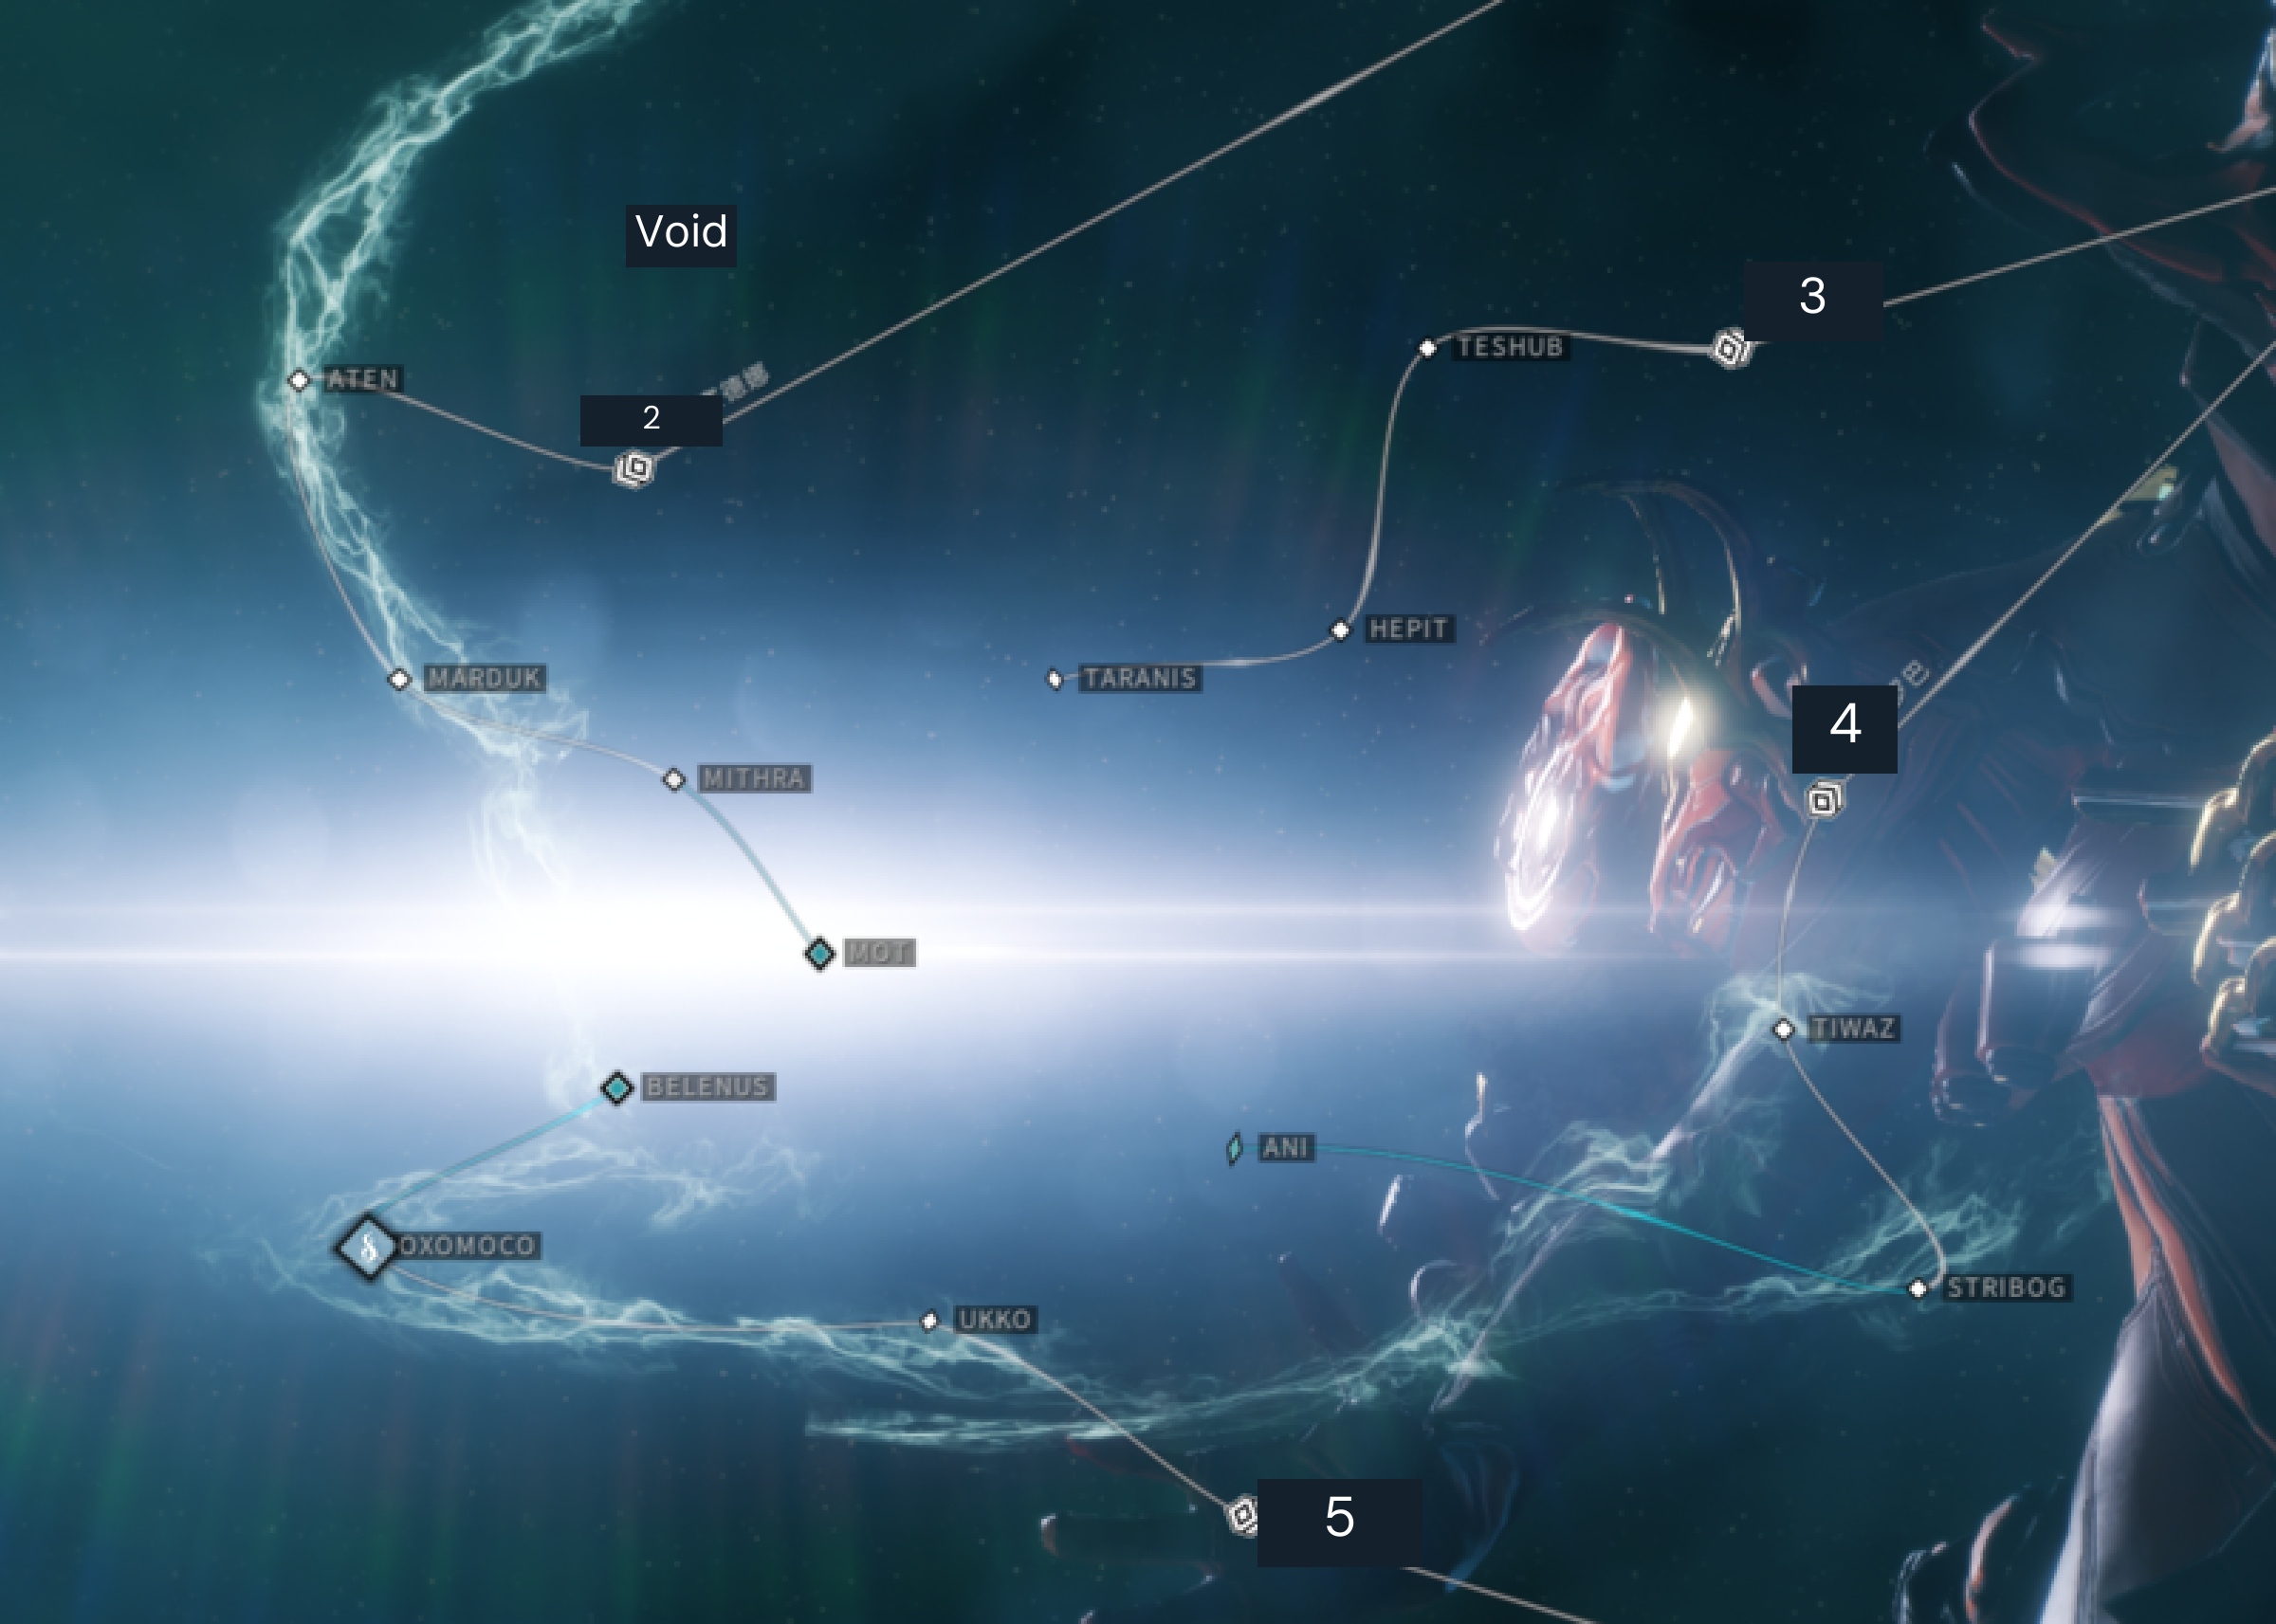
Choose the planet and mission node listed in the guide. Mission interiors use generated tiles; the navigation map locates the mission.
Select this node in Navigation; follow the reward instructions below.
Mission details ↗Select this node in Navigation; follow the reward instructions below.
Mission details ↗Select this node in Navigation; follow the reward instructions below.
Mission details ↗Select this node in Navigation; follow the reward instructions below.
Mission details ↗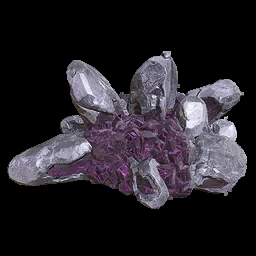
Repeat Capture-and-search runs until the current craft’s Argon requirement is covered; crystals decay after leaving the Void, so this is a just-in-time farm.
Stop as soon as you have enough Argon for the craft you are prepared to start, then use it promptly.
Ani, Void — Survival
Ani, Void — Survival
Hepit, Void — Capture; Ukko, Void is another option later in progression.
Conclave · Rotation B
Conclave · Rotation B
Conclave · Rotation B
Conclave · Rotation B
Conclave · Rotation B
Planet/location resource pool · choose an unlocked mission
Newest items appear first in each group. Quantities include all listed upgrades; costs vary by level or recipe.
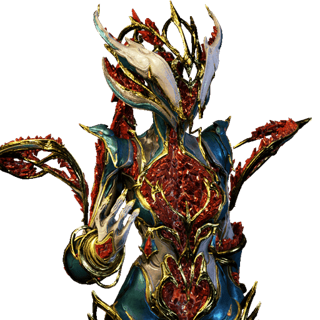 Citrine PrimeFull build · default recipes ×2↗× 2per craft or build
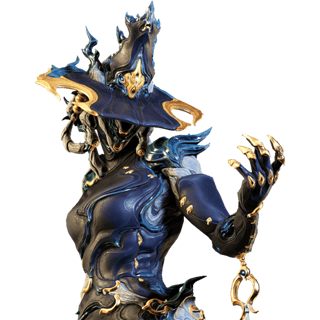 NarinFull build · default recipes ×2↗× 2per craft or build
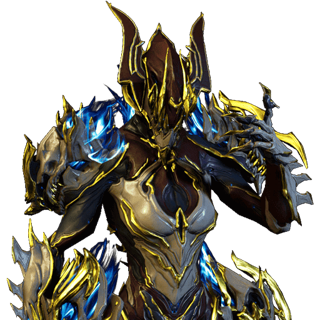 Voruna PrimeFull build · default recipes ×2↗× 2per craft or build
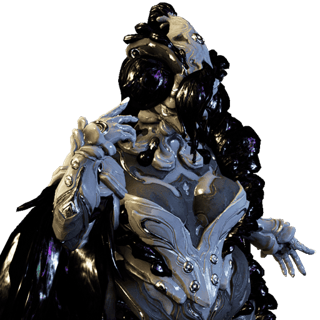 FollieFull build · default recipes ×2↗× 2per craft or build
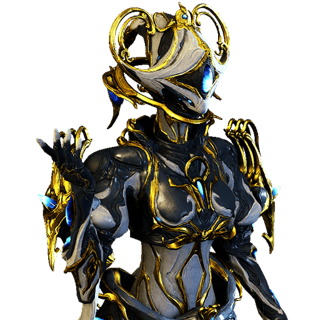 Gyre PrimeFull build · default recipes ×2↗× 2per craft or build
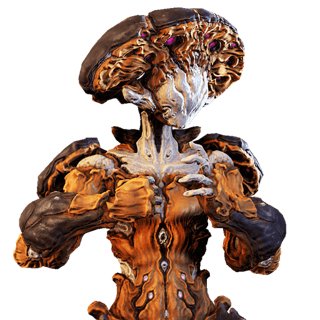 NokkoFull build · default recipes ×2↗× 2per craft or build
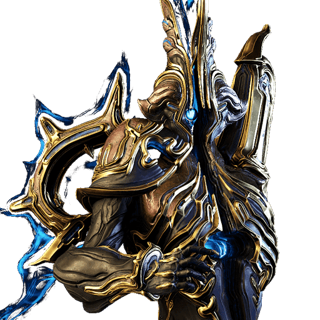 Caliban PrimeFull build · default recipes ×2↗× 2per craft or build
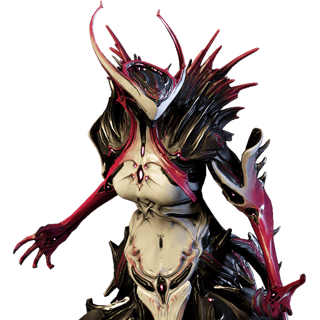 OraxiaFull build · default recipes ×2↗× 2per craft or build
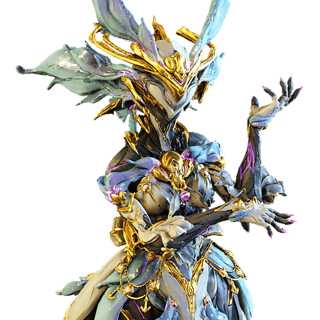 Yareli PrimeFull build · default recipes ×2↗× 2per craft or build
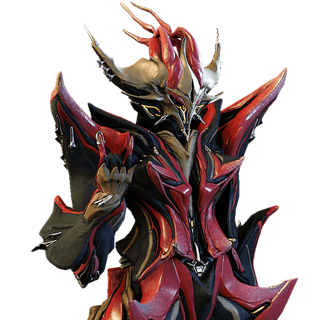 TempleFull build · default recipes ×1↗× 1per craft or build
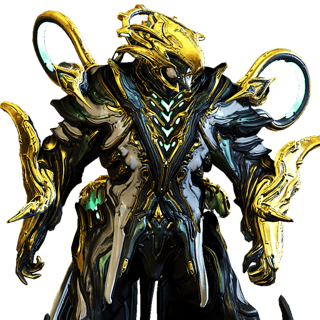 Lavos PrimeFull build · default recipes ×2↗× 2per craft or build
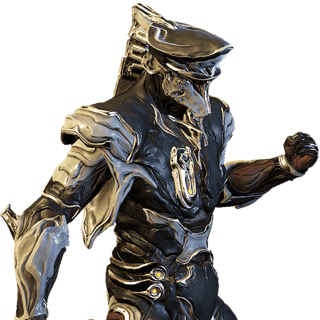 Cyte-09Full build · default recipes ×1↗× 1per craft or build
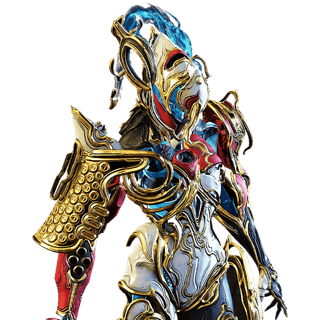 Xaku PrimeFull build · default recipes ×2↗× 2per craft or build
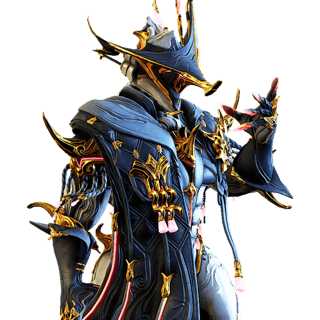 Sevagoth PrimeFull build · default recipes ×2↗× 2per craft or build
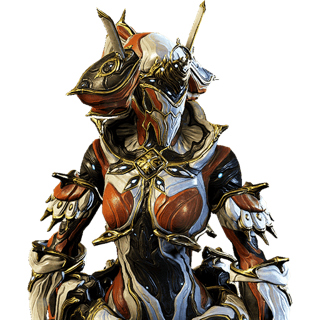 Protea PrimeFull build · default recipes ×2↗× 2per craft or build
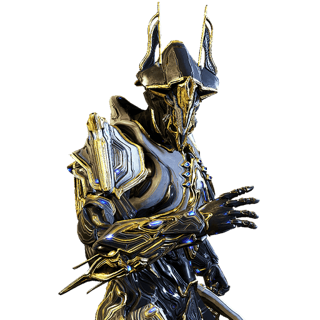 Gauss PrimeFull build · default recipes ×2↗× 2per craft or build
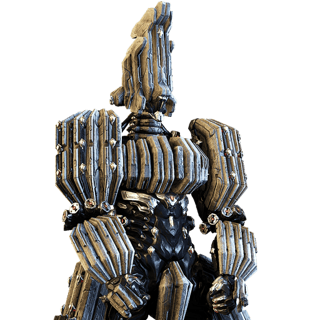 QorvexFull build · default recipes ×4↗× 4per craft or build
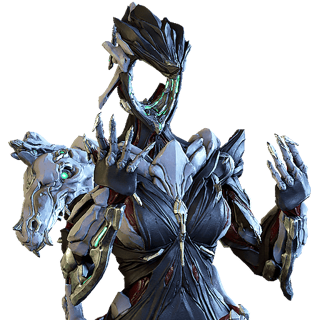 DagathFull build · default recipes ×2↗× 2per craft or build
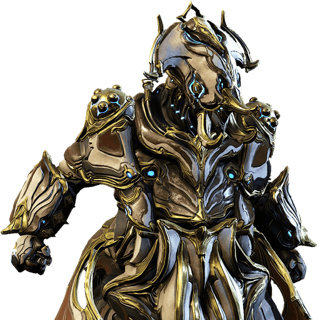 Grendel PrimeFull build · default recipes ×2↗× 2per craft or build
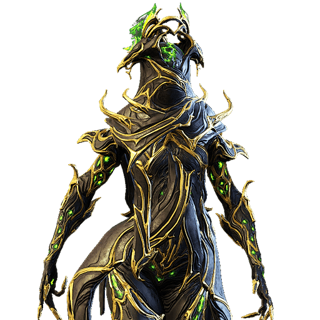 Wisp PrimeFull build · default recipes ×2↗× 2per craft or build
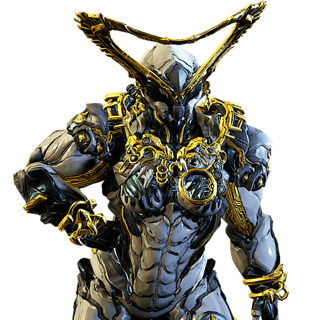 Hildryn PrimeFull build · default recipes ×2↗× 2per craft or build
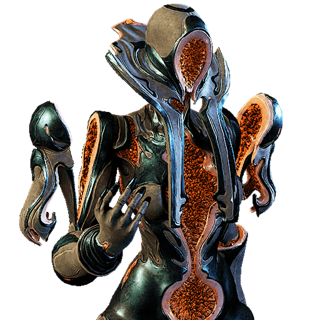 CitrineFull build · default recipes ×2↗× 2per craft or build
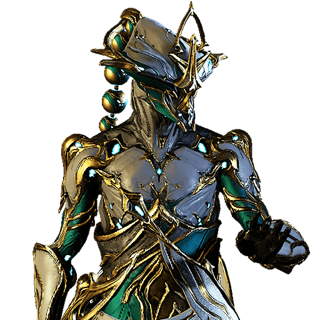 Baruuk PrimeFull build · default recipes ×2↗× 2per craft or build
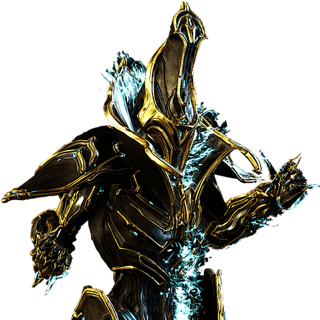 Revenant PrimeFull build · default recipes ×2↗× 2per craft or build
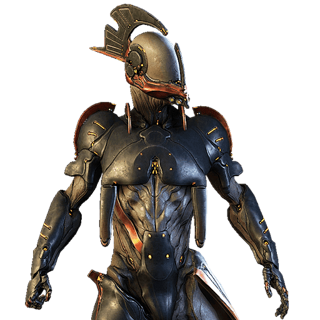 StyanaxFull build · default recipes ×2↗× 2per craft or build
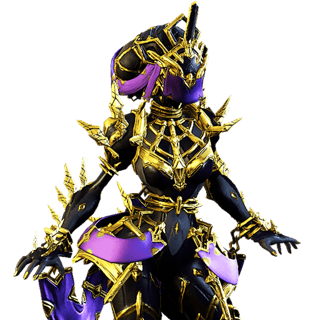 Khora PrimeFull build · default recipes ×2↗× 2per craft or build
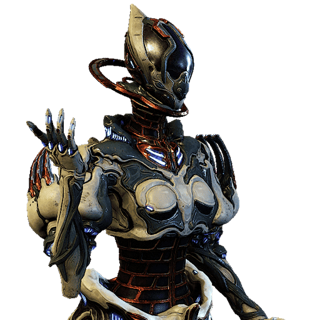 GyreFull build · default recipes ×2↗× 2per craft or build
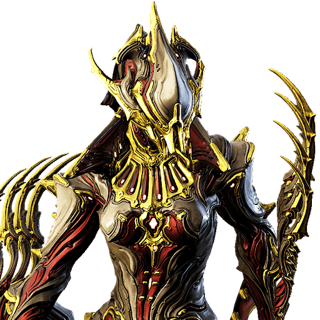 Garuda PrimeFull build · default recipes ×2↗× 2per craft or build
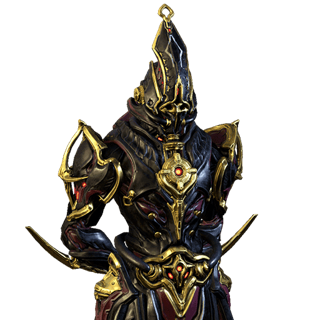 Harrow PrimeFull build · default recipes ×2↗× 2per craft or build
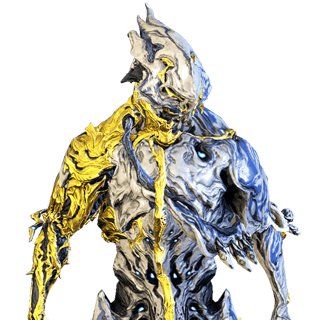 Nidus PrimeFull build · default recipes ×2↗× 2per craft or build
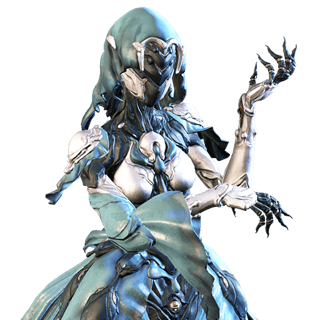 YareliFull build · default recipes ×2↗× 2per craft or build
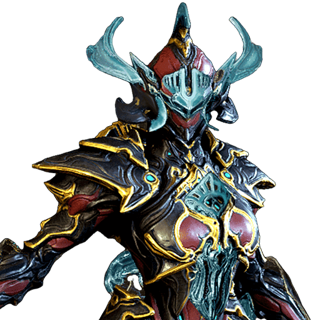 Gara PrimeFull build · default recipes ×2↗× 2per craft or build
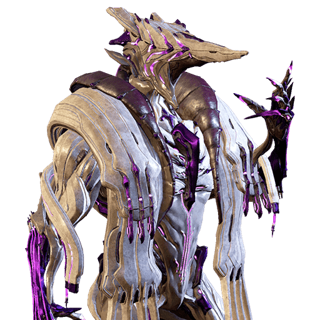 SevagothFull build · default recipes ×2↗× 2per craft or build
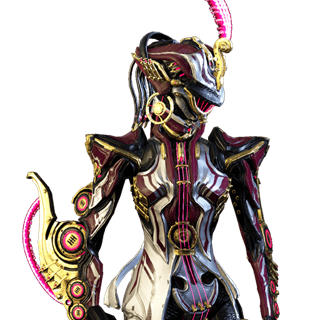 Octavia PrimeFull build · default recipes ×2↗× 2per craft or build
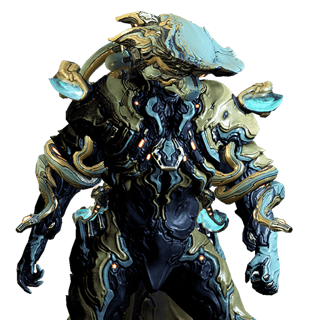 LavosFull build · default recipes ×2↗× 2per craft or build
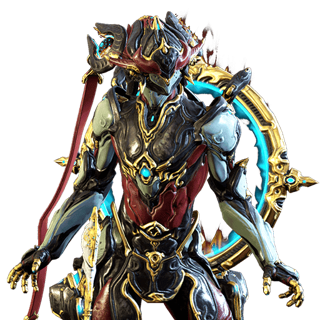 Nezha PrimeFull build · default recipes ×2↗× 2per craft or build
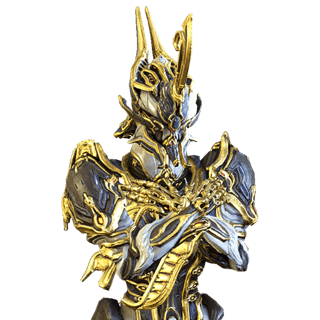 Inaros PrimeFull build · default recipes ×2↗× 2per craft or build
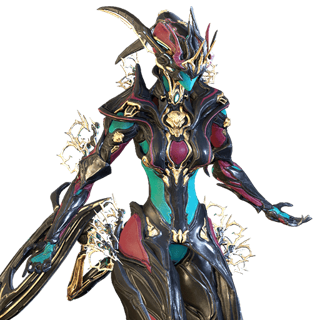 Titania PrimeFull build · default recipes ×2↗× 2per craft or build
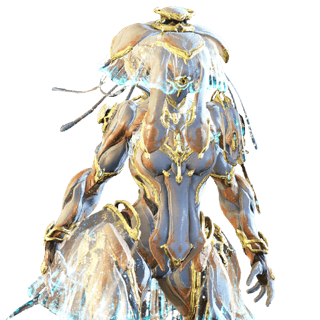 Ivara PrimeFull build · default recipes ×2↗× 2per craft or build
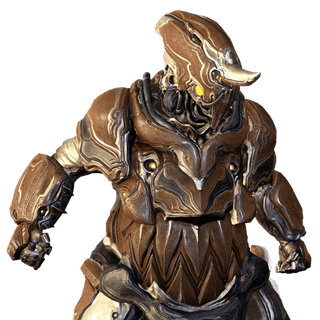 GrendelFull build · default recipes ×2↗× 2per craft or build
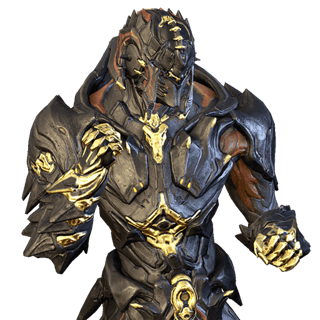 Atlas PrimeFull build · default recipes ×2↗× 2per craft or build
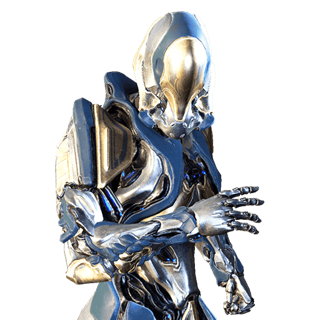 GaussFull build · default recipes ×1↗× 1per craft or build
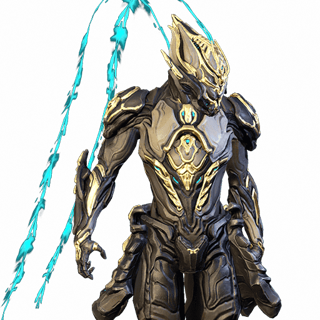 Wukong PrimeFull build · default recipes ×2↗× 2per craft or build
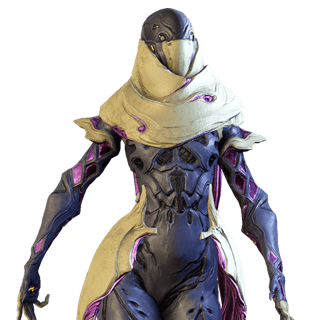 WispFull build · default recipes ×1↗× 1per craft or build
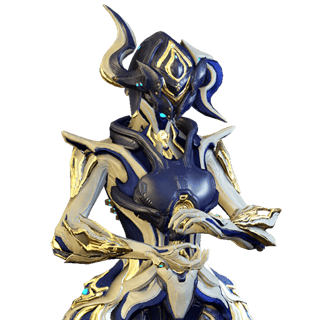 Equinox PrimeFull build · default recipes ×2↗× 2per craft or build
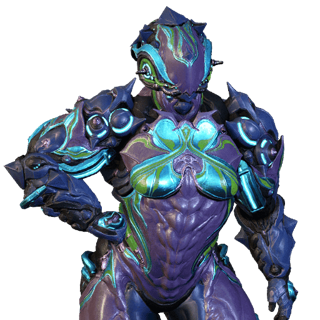 HildrynFull build · default recipes ×1↗× 1per craft or build
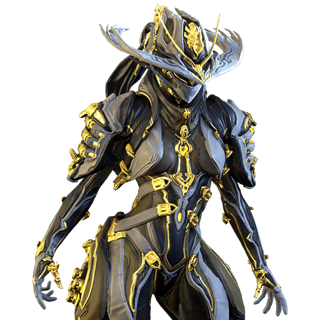 Mesa PrimeFull build · default recipes ×2↗× 2per craft or build
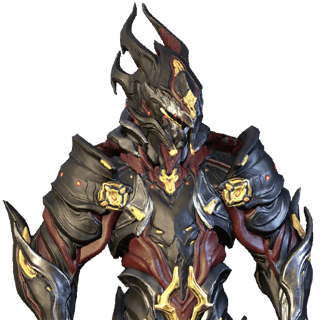 Chroma PrimeFull build · default recipes ×2↗× 2per craft or build
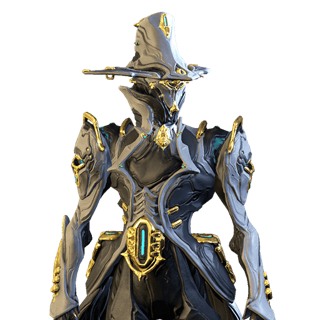 Limbo PrimeFull build · default recipes ×2↗× 2per craft or build
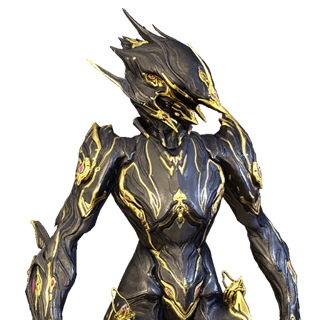 Zephyr PrimeFull build · default recipes ×2↗× 2per craft or build
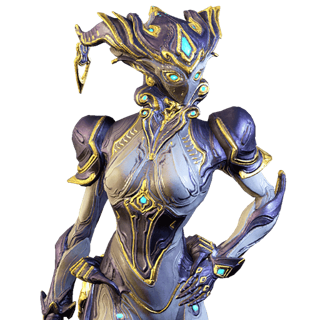 Mirage PrimeFull build · default recipes ×2↗× 2per craft or build
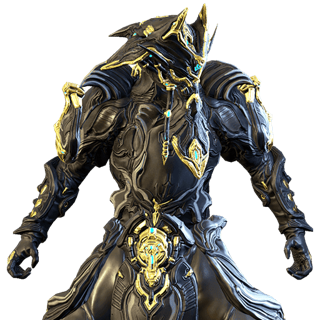 Hydroid PrimeFull build · default recipes ×2↗× 2per craft or build
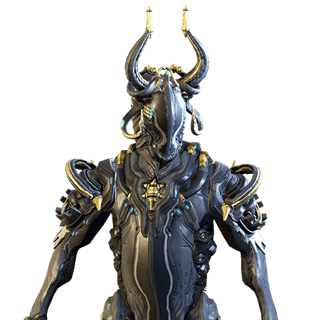 Oberon PrimeFull build · default recipes ×2↗× 2per craft or build
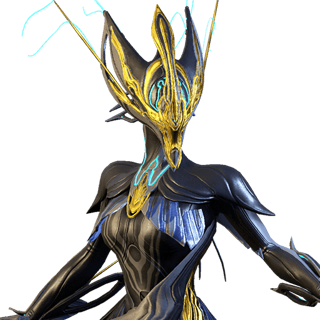 Banshee PrimeFull build · default recipes ×2↗× 2per craft or build
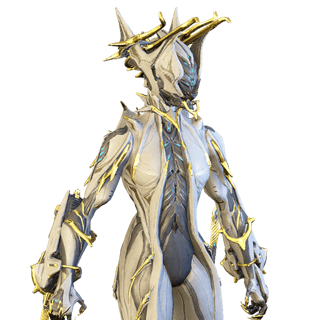 Valkyr PrimeFull build · default recipes ×2↗× 2per craft or build
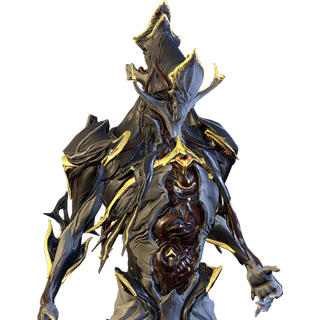 Nekros PrimeFull build · default recipes ×2↗× 2per craft or build
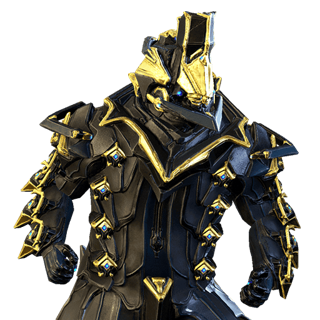 Vauban PrimeFull build · default recipes ×2↗× 2per craft or build
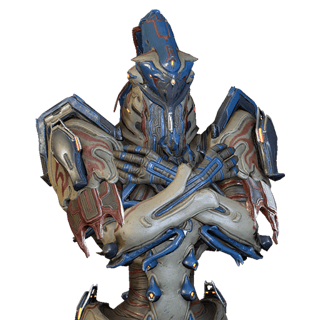 InarosFull build · default recipes ×2↗× 2per craft or build
 NezhaFull build · default recipes ×2↗× 2per craft or build
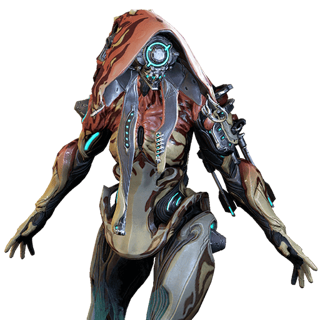 IvaraFull build · default recipes ×3↗× 3per craft or build
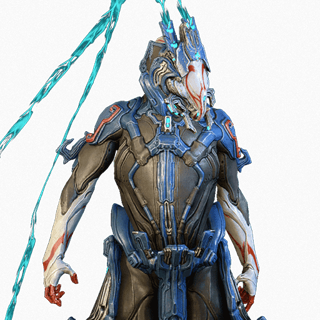 WukongFull build · default recipes ×2↗× 2per craft or build
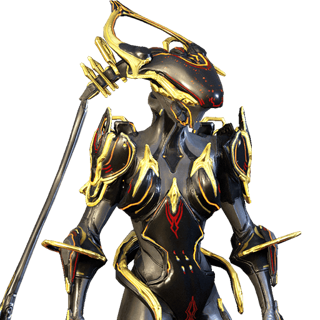 Trinity PrimeFull build · default recipes ×2↗× 2per craft or build
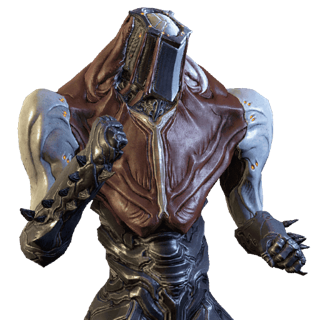 AtlasFull build · default recipes ×2↗× 2per craft or build
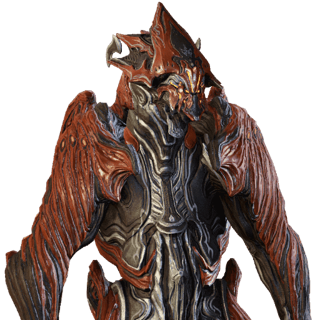 ChromaFull build · default recipes ×2↗× 2per craft or build
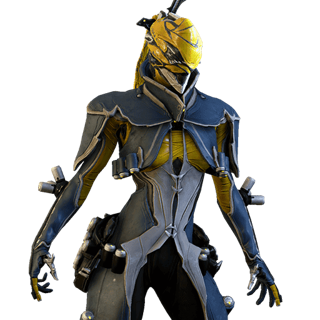 MesaFull build · default recipes ×1↗× 1per craft or build
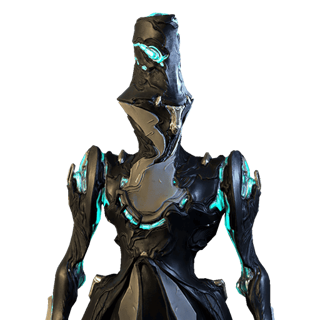 LimboFull build · default recipes ×1↗× 1per craft or build
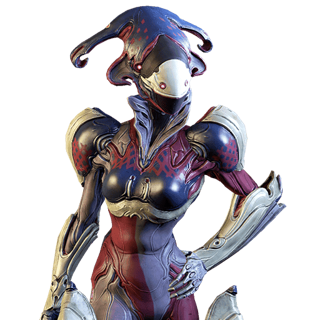 MirageFull build · default recipes ×1↗× 1per craft or build
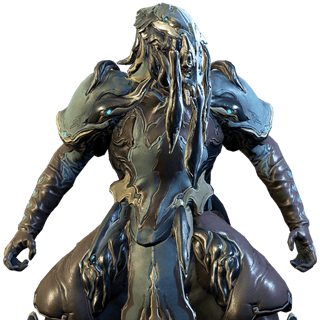 HydroidFull build · default recipes ×4↗× 4per craft or build
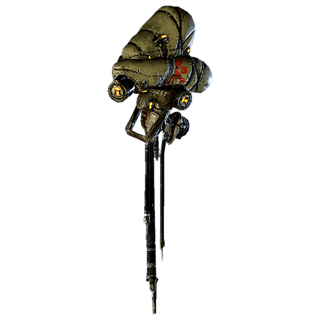 DirigaFull build · default recipes ×2↗× 2per craft or build
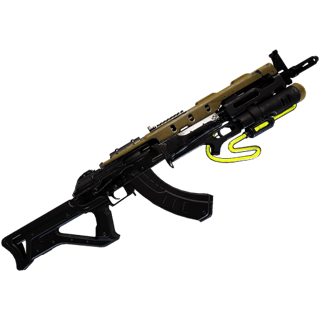 Efv-5 JupiterFull build · default recipes ×1↗× 1per craft or build
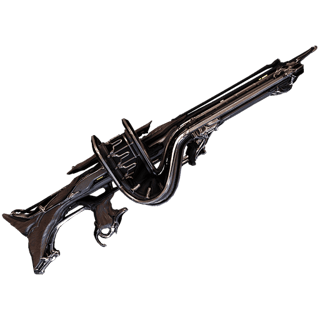 ReconifexFull build · default recipes ×1↗× 1per craft or build
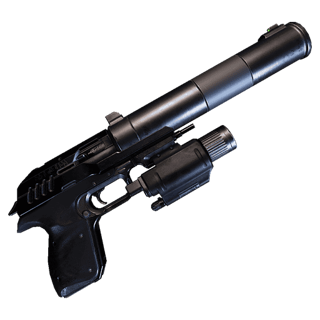 Vesper 77Full build · default recipes ×1↗× 1per craft or build
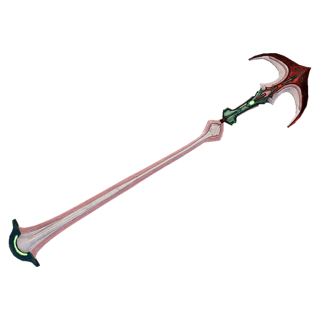 CantareFull build · default recipes ×4↗× 4per craft or build
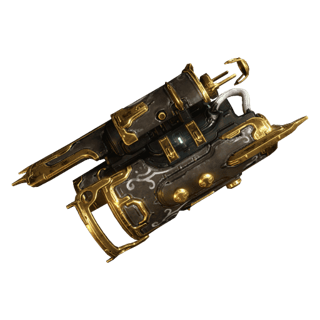 OnosFull build · default recipes ×2↗× 2per craft or build
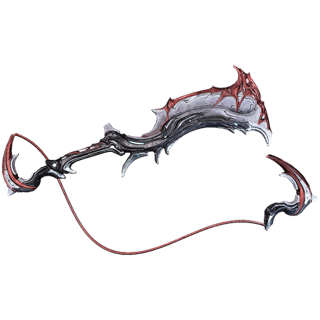 DorrclaveFull build · default recipes ×2↗× 2per craft or build
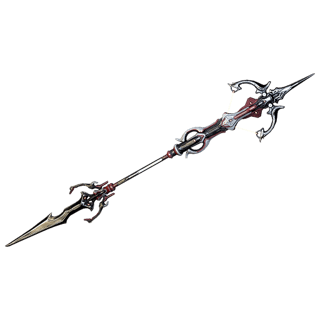 AfentisFull build · default recipes ×2↗× 2per craft or build
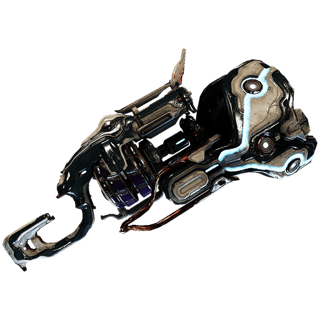 AlternoxFull build · default recipes ×2↗× 2per craft or build
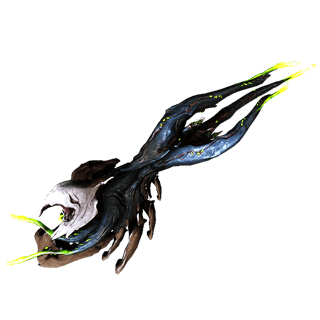 BubonicoFull build · default recipes ×3↗× 3per craft or build
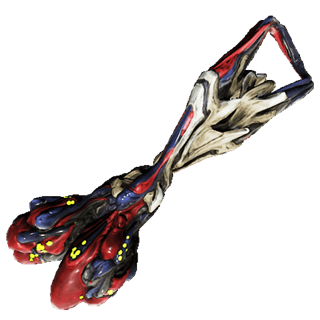 PulmonarsFull build · default recipes ×2↗× 2per craft or build
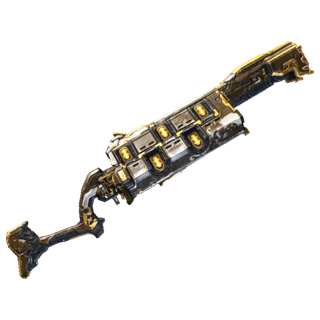 TrumnaFull build · default recipes ×1↗× 1per craft or build
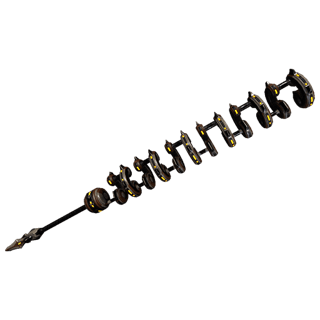 MasseterFull build · default recipes ×2↗× 2per craft or build
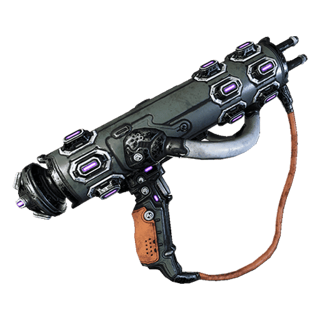 QuatzFull build · default recipes ×2↗× 2per craft or build
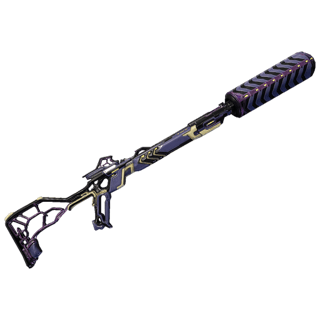 FulminFull build · default recipes ×2↗× 2per craft or build
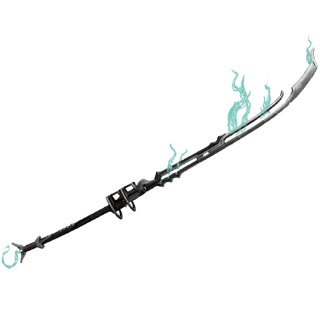 TatsuFull build · default recipes ×2↗× 2per craft or build
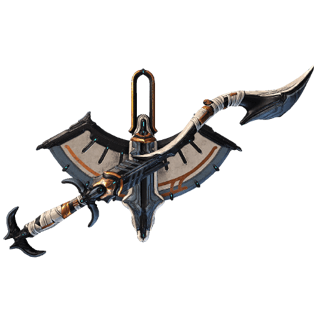 Cobra & CraneFull build · default recipes ×2↗× 2per craft or build
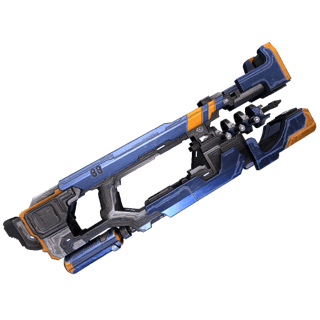 ExergisFull build · default recipes ×2↗× 2per craft or build
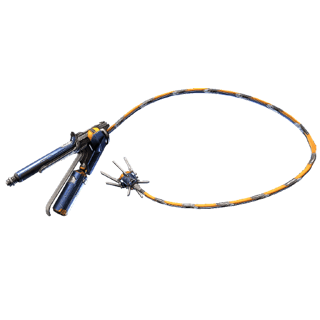 GalvacordFull build · default recipes ×2↗× 2per craft or build
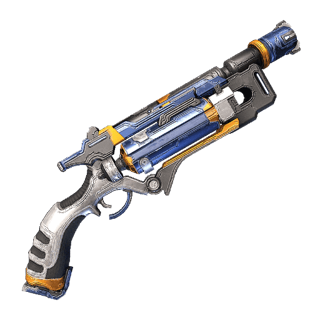 PlinxFull build · default recipes ×2↗× 2per craft or build
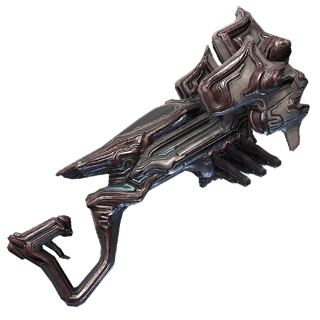 PhantasmaFull build · default recipes ×2↗× 2per craft or build
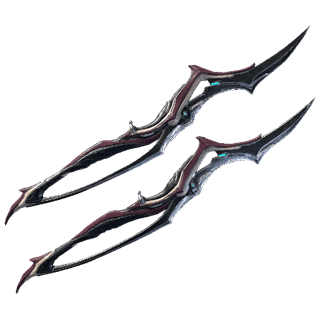 Dual KeresFull build · default recipes ×2↗× 2per craft or build
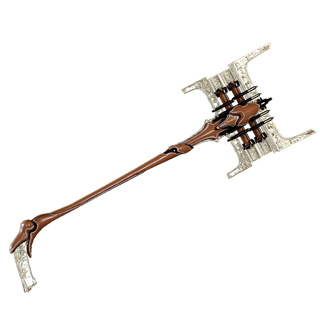 VolnusFull build · default recipes ×2↗× 2per craft or build
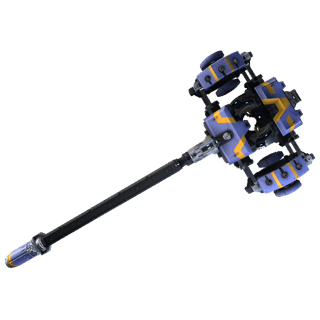 Arca TitronFull build · default recipes ×2↗× 2per craft or build
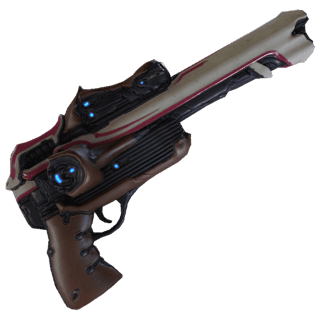 KnellFull build · default recipes ×2↗× 2per craft or build
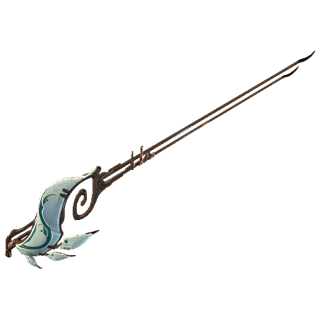 EnduraFull build · default recipes ×2↗× 2per craft or build
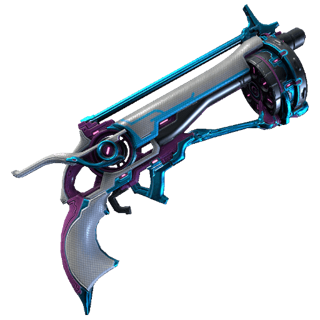 PanderoFull build · default recipes ×2↗× 2per craft or build
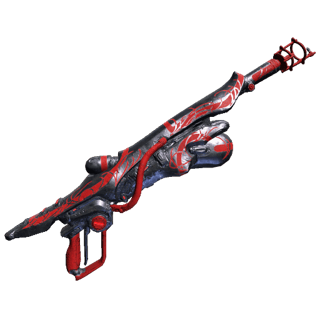 Ignis WraithFull build · default recipes ×3↗× 3per craft or build
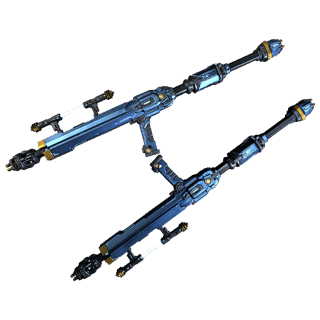 OhmaFull build · default recipes ×2↗× 2per craft or build
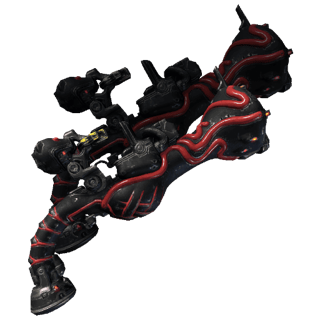 Twin RoggaFull build · default recipes ×2↗× 2per craft or build
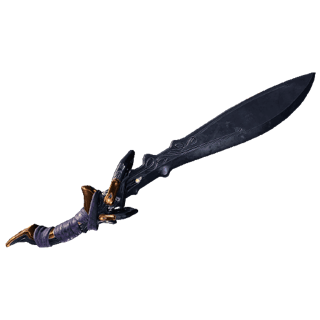 Gazal MacheteFull build · default recipes ×2↗× 2per craft or build
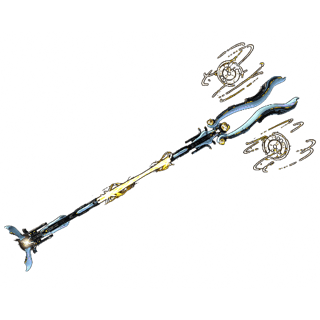 HeliocorFull build · default recipes ×2↗× 2per craft or build
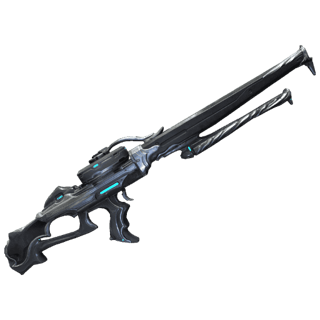 StradavarFull build · default recipes ×2↗× 2per craft or build
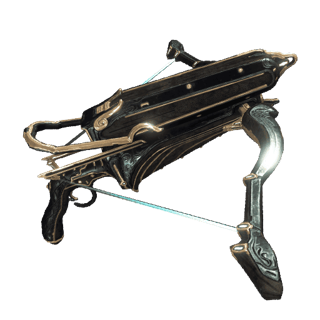 ZhugeFull build · default recipes ×2↗× 2per craft or build
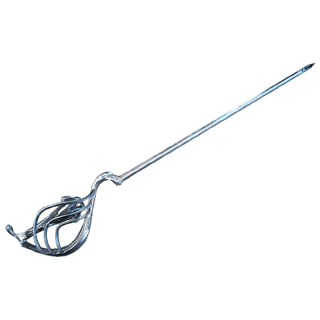 DestrezaFull build · default recipes ×2↗× 2per craft or build
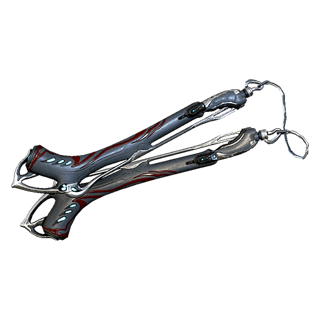 ShakuFull build · default recipes ×2↗× 2per craft or build
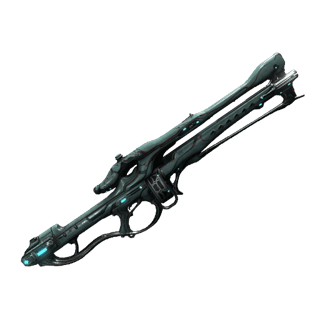 RubicoFull build · default recipes ×2↗× 2per craft or build
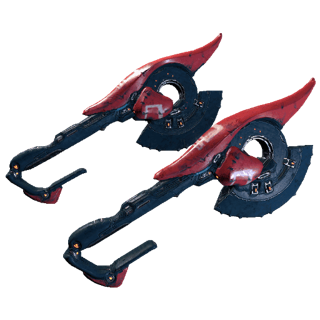 Twin BasolkFull build · default recipes ×2↗× 2per craft or build
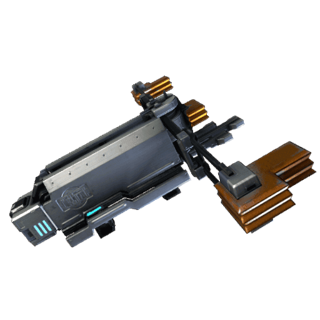 SonicorFull build · default recipes ×2↗× 2per craft or build
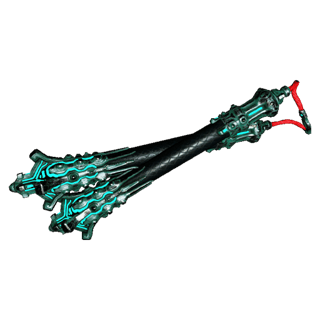 NinkondiFull build · default recipes ×2↗× 2per craft or build
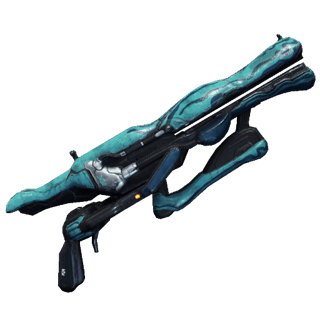 HarpakFull build · default recipes ×2↗× 2per craft or build
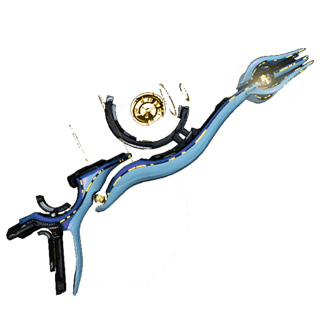 SimulorFull build · default recipes ×1↗× 1per craft or build
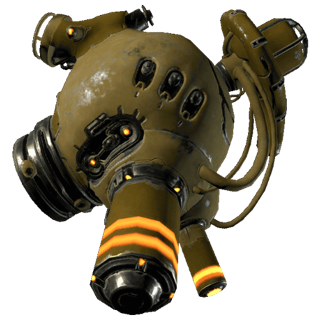 AtomosFull build · default recipes ×2↗× 2per craft or build
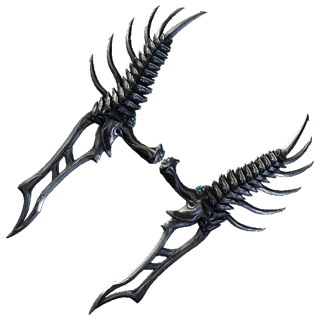 BoltaceFull build · default recipes ×2↗× 2per craft or build
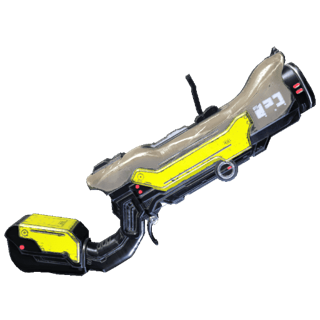 TonkorFull build · default recipes ×2↗× 2per craft or build
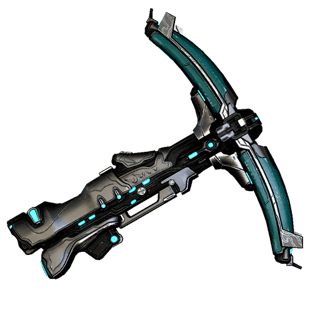 FluctusFull build · default recipes ×2↗× 2per craft or build
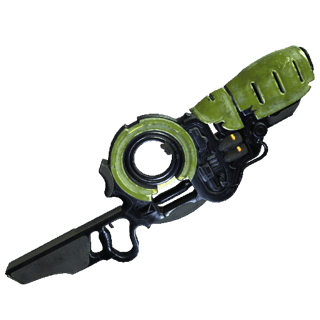 KohmFull build · default recipes ×2↗× 2per craft or build
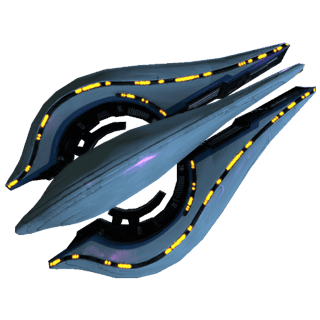 GammacorFull build · default recipes ×2↗× 2per craft or build
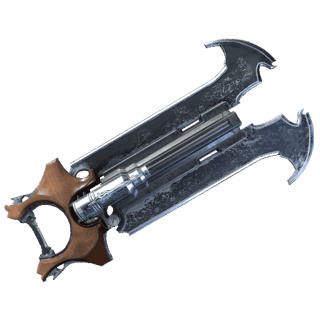 RedeemerFull build · default recipes ×2↗× 2per craft or build
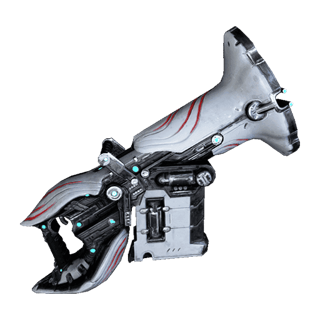 CorvasFull build · default recipes ×2↗× 2per craft or build
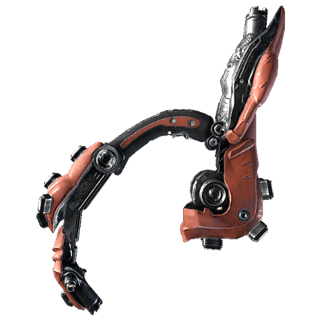 HalikarFull build · default recipes ×2↗× 2per craft or build
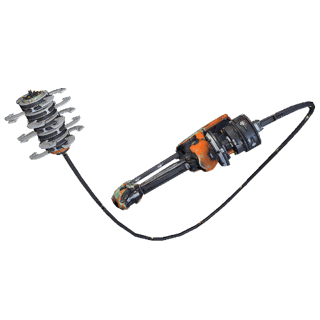 AtteraxFull build · default recipes ×2↗× 2per craft or build
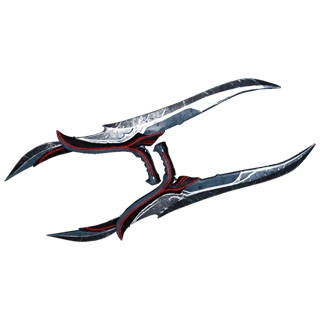 KronenFull build · default recipes ×2↗× 2per craft or build
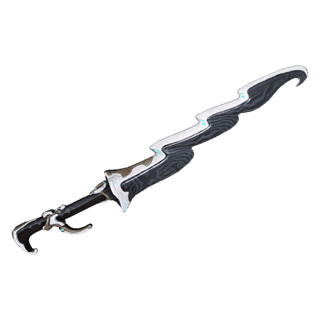 KarystFull build · default recipes ×1↗× 1per craft or build
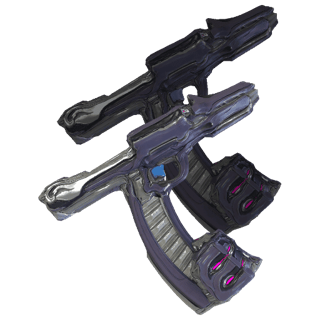 AkzaniFull build · default recipes ×2↗× 2per craft or build
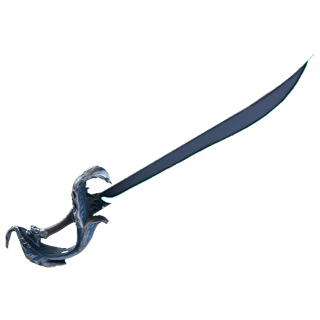 Nami SoloFull build · default recipes ×2↗× 2per craft or build
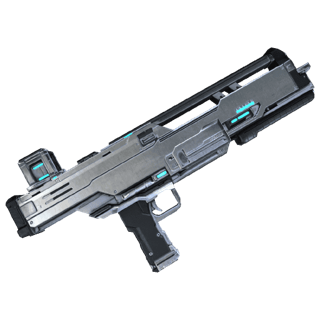 AngstrumFull build · default recipes ×2↗× 2per craft or build
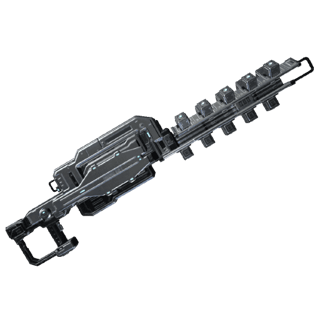 AmprexFull build · default recipes ×3↗× 3per craft or build
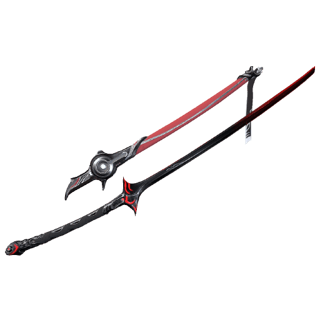 Dragon NikanaFull build · default recipes ×4↗× 4per craft or build
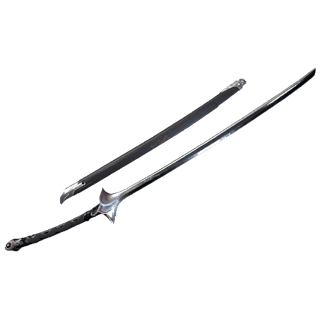 NikanaFull build · default recipes ×3↗× 3per craft or build
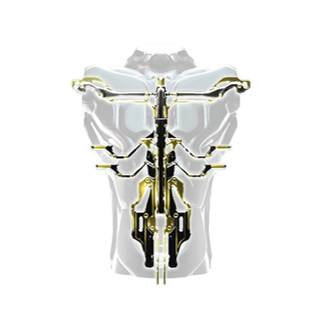 Citrine Prime SystemsFoundry ×2↗× 2per craft or build
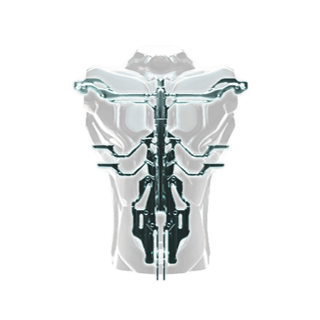 Narin SystemsFoundry ×2↗× 2per craft or buildVoruna Prime SystemsFoundry ×2↗× 2per craft or build
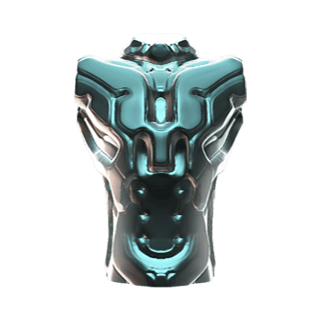 Follie ChassisFoundry ×2↗× 2per craft or buildGyre Prime SystemsFoundry ×2↗× 2per craft or buildNokko SystemsFoundry ×2↗× 2per craft or buildCaliban Prime SystemsFoundry ×2↗× 2per craft or buildOraxia SystemsFoundry ×2↗× 2per craft or buildYareli Prime SystemsFoundry ×2↗× 2per craft or build
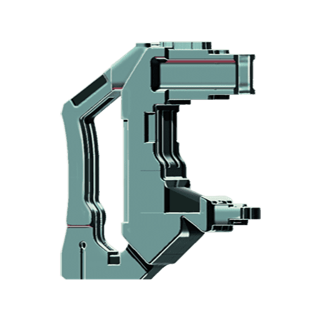 Efv-5 Jupiter ReceiverFoundry ×1↗× 1per craft or buildTemple ChassisFoundry ×1↗× 1per craft or buildLavos Prime SystemsFoundry ×2↗× 2per craft or build
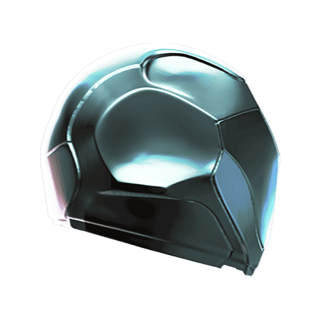 Cyte-09 NeuropticsFoundry ×1↗× 1per craft or build
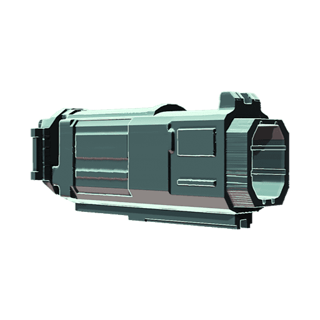 Reconifex BarrelFoundry ×1↗× 1per craft or buildVesper 77 BarrelFoundry ×1↗× 1per craft or buildXaku Prime SystemsFoundry ×2↗× 2per craft or buildSevagoth Prime SystemsFoundry ×2↗× 2per craft or build
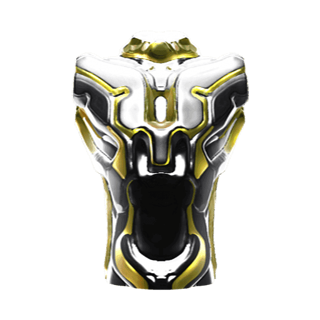 Protea Prime ChassisFoundry ×2↗× 2per craft or buildGauss Prime SystemsFoundry ×2↗× 2per craft or buildQorvex ChassisFoundry ×2↗× 2per craft or buildQorvex SystemsFoundry ×2↗× 2per craft or buildDagath ChassisFoundry ×2↗× 2per craft or build
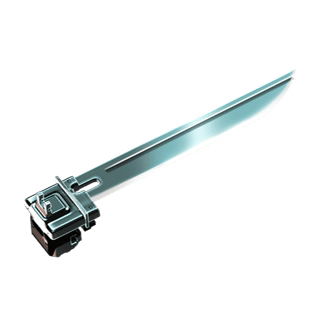 Dorrclave BladeFoundry ×2↗× 2per craft or build
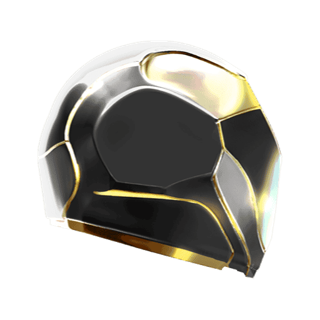 Grendel Prime NeuropticsFoundry ×2↗× 2per craft or buildWisp Prime NeuropticsFoundry ×2↗× 2per craft or buildHildryn Prime NeuropticsFoundry ×2↗× 2per craft or buildCitrine NeuropticsFoundry ×2↗× 2per craft or buildBaruuk Prime SystemsFoundry ×2↗× 2per craft or buildRevenant Prime NeuropticsFoundry ×2↗× 2per craft or buildStyanax NeuropticsFoundry ×2↗× 2per craft or buildKhora Prime NeuropticsFoundry ×2↗× 2per craft or buildGyre SystemsFoundry ×2↗× 2per craft or buildGaruda Prime NeuropticsFoundry ×2↗× 2per craft or buildHarrow Prime NeuropticsFoundry ×2↗× 2per craft or buildNidus Prime NeuropticsFoundry ×2↗× 2per craft or buildYareli NeuropticsFoundry ×2↗× 2per craft or buildGara Prime NeuropticsFoundry ×2↗× 2per craft or buildSevagoth SystemsFoundry ×2↗× 2per craft or buildOctavia Prime ChassisFoundry ×2↗× 2per craft or buildLavos ChassisFoundry ×2↗× 2per craft or buildNezha Prime NeuropticsFoundry ×2↗× 2per craft or buildTrumna ReceiverFoundry ×1↗× 1per craft or buildInaros Prime NeuropticsFoundry ×2↗× 2per craft or buildTitania Prime NeuropticsFoundry ×2↗× 2per craft or buildIvara Prime NeuropticsFoundry ×2↗× 2per craft or buildGrendel NeuropticsFoundry ×2↗× 2per craft or buildAtlas Prime SystemsFoundry ×2↗× 2per craft or buildGauss NeuropticsFoundry ×1↗× 1per craft or buildWukong Prime ChassisFoundry ×2↗× 2per craft or buildWisp ChassisFoundry ×1↗× 1per craft or buildEquinox Prime SystemsFoundry ×2↗× 2per craft or buildHildryn NeuropticsFoundry ×1↗× 1per craft or buildMesa Prime NeuropticsFoundry ×2↗× 2per craft or buildChroma Prime SystemsFoundry ×2↗× 2per craft or buildLimbo Prime ChassisFoundry ×2↗× 2per craft or buildZephyr Prime SystemsFoundry ×2↗× 2per craft or buildMirage Prime SystemsFoundry ×2↗× 2per craft or buildHydroid Prime ChassisFoundry ×2↗× 2per craft or buildOberon Prime SystemsFoundry ×2↗× 2per craft or buildBanshee Prime SystemsFoundry ×2↗× 2per craft or buildValkyr Prime ChassisFoundry ×2↗× 2per craft or buildNekros Prime ChassisFoundry ×2↗× 2per craft or buildVauban Prime ChassisFoundry ×2↗× 2per craft or buildInaros SystemsFoundry ×2↗× 2per craft or buildNezha ChassisFoundry ×1↗× 1per craft or buildNezha NeuropticsFoundry ×1↗× 1per craft or buildIvara NeuropticsFoundry ×2↗× 2per craft or buildIvara SystemsFoundry ×1↗× 1per craft or buildWukong SystemsFoundry ×2↗× 2per craft or buildTrinity Prime ChassisFoundry ×2↗× 2per craft or buildAtlas ChassisFoundry ×2↗× 2per craft or buildChroma SystemsFoundry ×2↗× 2per craft or buildMesa SystemsFoundry ×1↗× 1per craft or buildLimbo ChassisFoundry ×1↗× 1per craft or buildHydroid ChassisFoundry ×2↗× 2per craft or buildHydroid NeuropticsFoundry ×2↗× 2per craft or build