Sell Hanse loot to fund materials
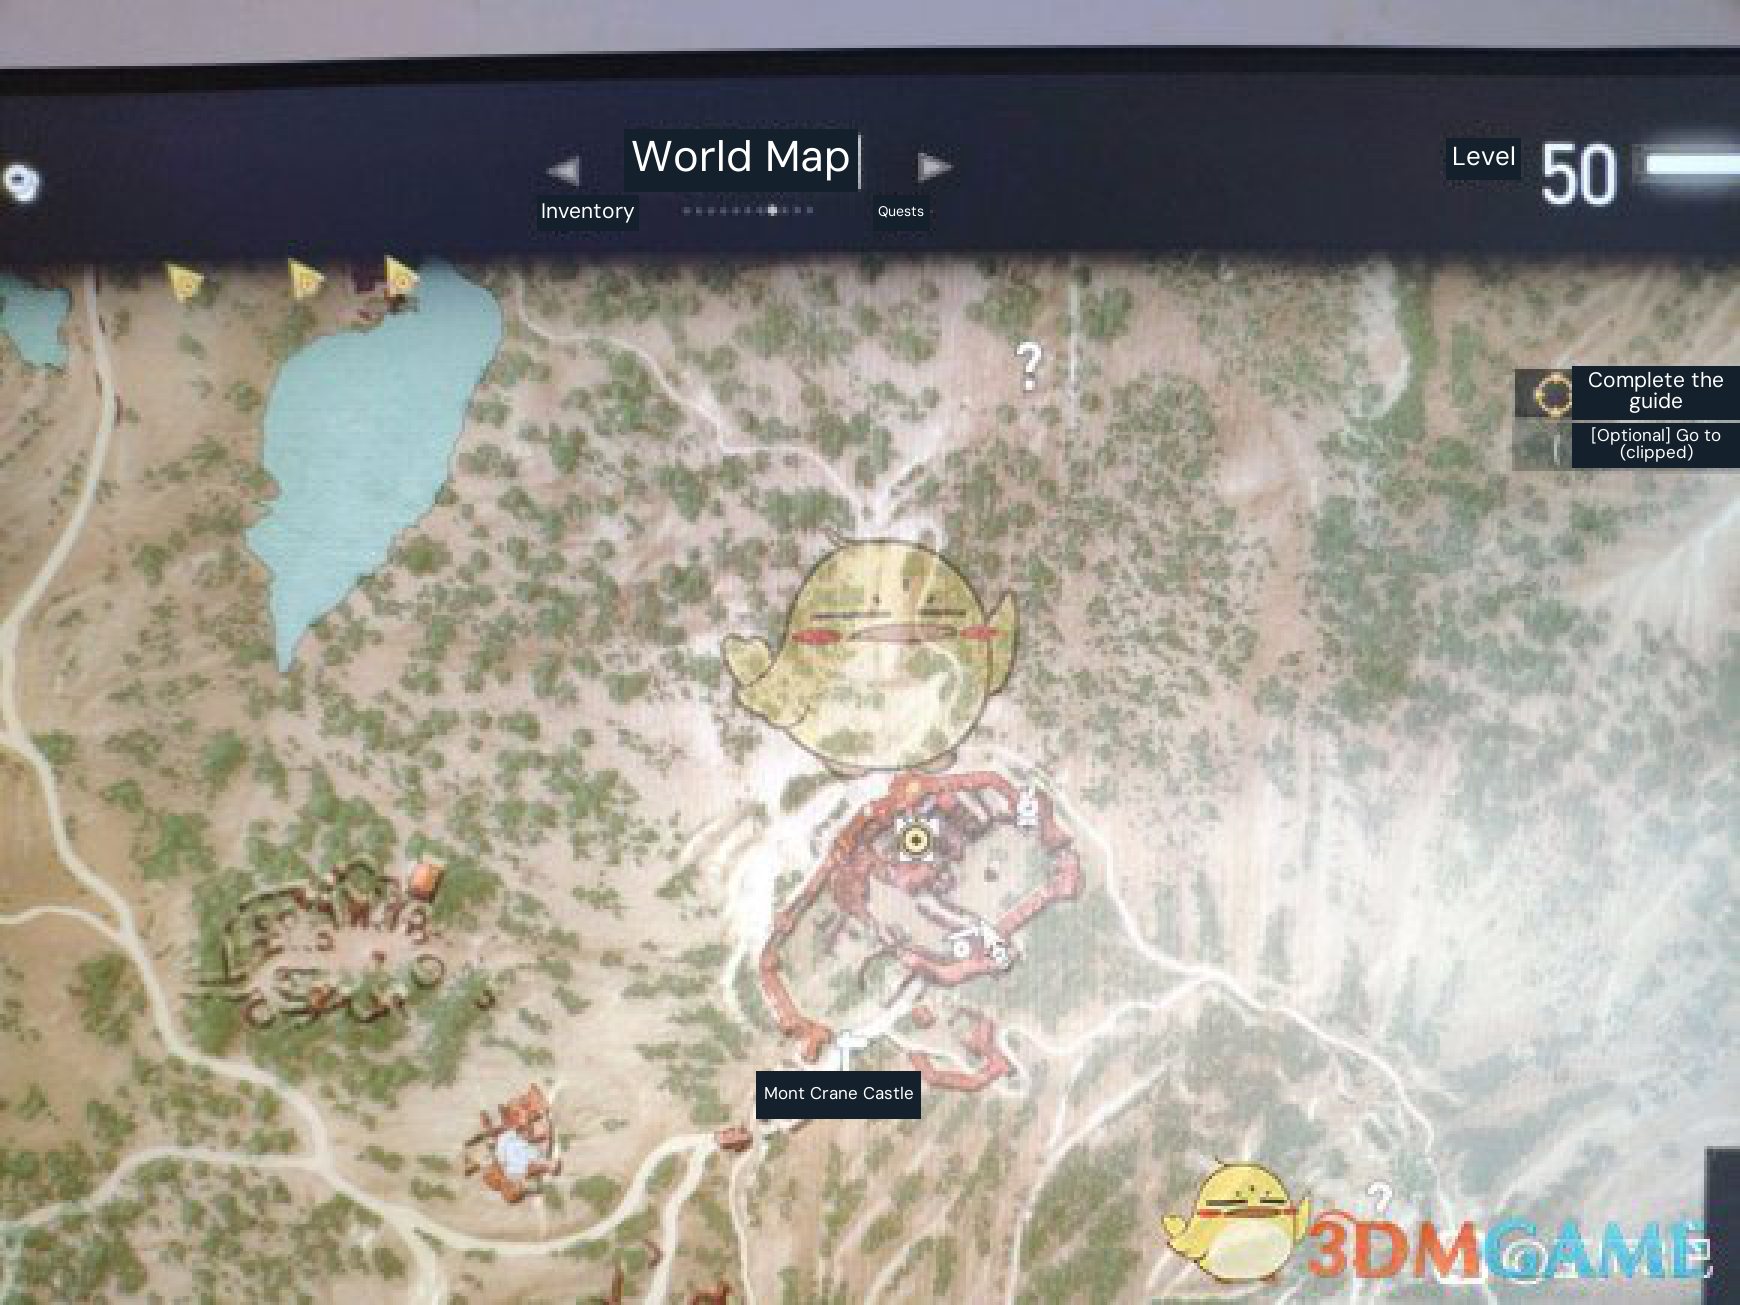
Mont Crane Castle Hanse base in Toussaint. Leave its leader alive to retain the repeatable weapon-loot farm.
Open map & farming steps ↗The Witcher 3’s resource loop turns monster hunts and exploration into mutagens, crafting parts and crowns. Respawning Drowned Dead and Endregas provide targeted mutagen chances, while Blood and Wine adds Hanse bases for repeatable weapons and Grandmaster gear. Crafting diagrams and specialist smiths convert gathered materials into endgame equipment.
16 farming guides · PC / Global, Complete Edition with Hearts of Stone and Blood and Wine

Preview the available maps and layouts. Each one links to its farming instructions.
Unlock requirements, costs and tips to help you get started.
Some bandit camps provide repeatable weapon loot to sell, while Devil’s Pit stopped respawning after patch 4.0. The listed Velen and Novigrad camps offer a route to try instead.
At a Toussaint Hanse base, leaving the leader alive lets the ordinary bandits respawn for more loot. Clear the group and sell its weapons before returning.
Drowned Dead at Whale Graveyard and Redgill can respawn, and high-level Endregas can yield red mutagens. These are farming routes, but a specific mutagen color is not assured.
Prioritize repeatable crown and mutagen needs first, then Grandmaster access and crafting, followed by Ursine progression and durable route guidance.
Prevents wasted travel by steering crown farming toward camps that still respawn in the current patch context.
Starts the Blood and Wine quest chain that reveals where to search for Grandmaster diagrams.
Unlocks the Bear School equipment progression through exploration, map leads, and smithing.
Turns the Urialla Isle diagram discovery into a usable early Bear School armor set and a foundation for later upgrades.
Provides the progression chain for locating successive Ursine armor upgrades after the basic set is discovered.
Completes the Bear School weapon side of the set through distinct Skellige searches beyond the basic armor cache.
Browse more guides in this category.
Prevents wasted travel by steering crown farming toward camps that still respawn in the current patch context.
A Blood and Wine loot loop for building a saleable weapon stock while keeping a Toussaint location repeatable.
View 1 map ↗A practical repeatable source of weapon loot when you need crowns for repairs, diagrams, or crafting supplies.
Browse more guides in this category.
A targeted Skellige route for repeated chances at red mutagens, with an essential camp-clear prerequisite.
A focused beach stop for collecting variable mutagens from a respawning Drowned Dead group on Ard Skellig.
Offers another monster-based chance at mutagens when you want to build stock through combat rather than focus only on Drowned…
Browse more guides in this category.
Starts the Blood and Wine quest chain that reveals where to search for Grandmaster diagrams.
Unlocks the Bear School equipment progression through exploration, map leads, and smithing.
Turns the Urialla Isle diagram discovery into a usable early Bear School armor set and a foundation for later upgrades.
Provides the progression chain for locating successive Ursine armor upgrades after the basic set is discovered.
Completes the Bear School weapon side of the set through distinct Skellige searches beyond the basic armor cache.
Converts Grandmaster diagrams and gathered components into Blood and Wine’s highest Witcher gear tier.
Browse more guides in this category.
Organizes the expensive material collection and purchase steps required to turn Blood and Wine diagrams into finished…
Uses weapon sales from a repeatable Toussaint encounter to fund the expensive inputs for Grandmaster crafting.
View 1 map ↗Adds a recurring greater mutagen reward to ordinary monster hunting after the Blood and Wine progression unlock.
Turns collected monster materials into recipe components that may be needed for Witcher gear crafting.
Recommended farming guides. Search by item, goal or location.
Prevents wasted travel by steering crown farming toward camps that still respawn in the current patch context.
Starts the Blood and Wine quest chain that reveals where to search for Grandmaster diagrams.
Unlocks the Bear School equipment progression through exploration, map leads, and smithing.
Turns the Urialla Isle diagram discovery into a usable early Bear School armor set and a foundation for later upgrades.
Provides the progression chain for locating successive Ursine armor upgrades after the basic set is discovered.
Completes the Bear School weapon side of the set through distinct Skellige searches beyond the basic armor cache.
Organizes the expensive material collection and purchase steps required to turn Blood and Wine diagrams into finished…
Converts Grandmaster diagrams and gathered components into Blood and Wine’s highest Witcher gear tier.
Uses weapon sales from a repeatable Toussaint encounter to fund the expensive inputs for Grandmaster crafting.
View 1 map ↗A Blood and Wine loot loop for building a saleable weapon stock while keeping a Toussaint location repeatable.
View 1 map ↗A practical repeatable source of weapon loot when you need crowns for repairs, diagrams, or crafting supplies.
A targeted Skellige route for repeated chances at red mutagens, with an essential camp-clear prerequisite.
A focused beach stop for collecting variable mutagens from a respawning Drowned Dead group on Ard Skellig.
Offers another monster-based chance at mutagens when you want to build stock through combat rather than focus only on Drowned…
Adds a recurring greater mutagen reward to ordinary monster hunting after the Blood and Wine progression unlock.
Turns collected monster materials into recipe components that may be needed for Witcher gear crafting.